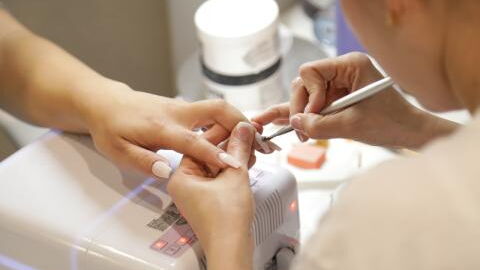
Flawless for days and infinite shine, just a few of the things we love about nail varnish. Lots of women use it quite often and never turn down a chance to visit a specialist or the nail salon to get those perfect-looking hands.
Discover our latest podcast
It is essential to remove your nail varnish
But in these troubled times, it is impossible to get your nail varnish removed professionally and then get another manicure afterwards. Although nail varnish tends to last for days which generally makes things easier for us, after a certain amount of time, it starts to chip away and crumble. And when this happens, you’re going to have to remove it yourself.
Although it can be very tempting to just tear or scratch it off yourself, we strongly advise against doing this. Why? Because it gradually yet significantly weakens your nails. They will end up more brittle, thinner and will even start to split. And to make things even worse, you could also end up getting fungal infections.
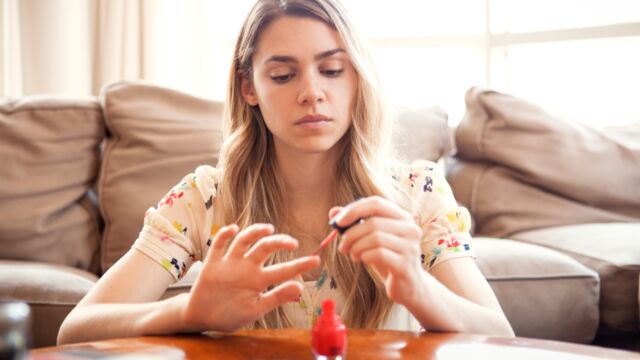
Removing your nail varnish at home yourself, it is possible!
What you will need:
- A nail buffer block
- Acetone or a solvent containing acetone
- Cuticle pusher
- Cotton or aluminium to help the varnish dissolve
Steps to follow:
- Step 1: make removing your nail polish easier
With your buffer block or a nail file, remove the top layer of your manicure. This will remove the transparent finishing coating which protects your nails and the shine will disappear. The result? Your nails should become more of a matte colour. This step is essential so that the solvent can penetrate your nails properly, which will consequently help the varnish to come off easier.
- Step 2: dissolve your nail varnish by wrapping your fingers in foil
To make these foil wraps, cut ten pieces of aluminium large enough to cover the top of your fingers. Cut cotton pads in half and soak them generously in the solvent or acetone. Place these pads on your nails and then wrap your fingers in the aluminium so they are covered.
Other options!
You could also buy specially designed caps or clips to help remove your nail varnish or even aluminium strips with the cotton part directly integrated into them.
- Step 3: be patient
You should generally leave these wraps on your fingers for between 10 to 15 minutes. This is so the nail varnish has enough time to soften so that it can easily be removed afterwards. It’s up to you if you want to check on the colour during this time.
- Step 4: remove your nail varnish
Using a cotton pad soaked in acetone, rub your nails to remove the thickest layer. If small traces remain, especially on the sides of your nails, take the little wooden stick known as a ‘cuticle pusher’ and gently scrape the nail.
- Step 5: smooth your nails
Once the majority of the nail varnish has been removed, smooth over your nail and remove all other traces of the varnish using your buffer block.
And to finish off, wash your hands in warm, soapy water, paying particular attention to your nails. This part is essential for removing all the leftover grease and dirt. Since your hands, and especially your nails, have been through quite a lot now, make sure to moisturise them generously before your next manicure.