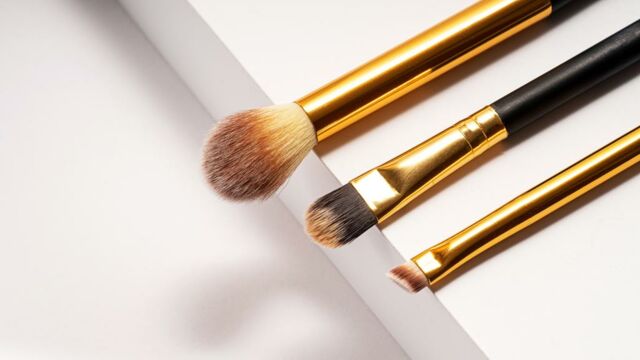
Whether or not you’re an everyday makeup wearer or just a casual user, there’s no doubt you have at least two or three go-to makeup brushesor sponges. But, if you’re anything like us, you can get a little lazy when it comes to looking after them. As a result, your brushes can start to apply a bit patchy and become generous hosts for bacteria. Don’t stress, it’s nothing that a good clean won’t fix!
Discover our latest podcast
But what’s the best way to clean and maintain our makeup brushes?
Why do we need to clean makeup brushes?
Brushes and sponges are the foundation of a good makeup routine. These seemingly low-key tools completely control application, and when they aren’t looked after properly, your brushes may not be able to deliver the amount of coverage you’re looking for, resulting in patchy or even discoloured looks.
It’s not just application that can be tarnished by a dirty brush. Dirty makeup brushes can harbour bacteria such as staphylococcus, streptococcus, and e.coli especially brushes used for liquid products. This bacteria build-up can then cause acne breakouts, infections and even rashes known as dermatitis.
How often should we clean our makeup brushes?
To ensure the health of your skin and the flawlessness of your paint, it’s essential to clean your makeup brushes every week. And, for brushes that are used for heavy application or for multiple colours, use a brush cleanser after each use to wash away all the oil and build-up.
But, there’s a difference between a clean and a deep clean, and you should also thoroughly wash your brushes once a month.
How to give your makeup brushes a deep clean
Giving your makeup brushes a deep clean is easy, and once dried, they’ll feel just as soft and fresh as they did when they were new - not to mention they won’t be full of bacteria.
- First thing’s first, set your brushes to soak in a bowl of warm water for a few minutes. This will help loosen some of that oily build-up and make it easier for cleaners to do their job.
- After a good soak, set out some brush cleanser or baby shampoo (you can even use an oil-based facial cleanser or dish soap) in a cup and swirl your brushes through the cleanser, gently massaging the bristles to remove the gunk. Then, rinse and repeat until your makeup tools are free from any grime.
- If you want to go that extra step further and show your brushes some real love, give them a second run through with conditioner to make them nice and soft.
- After you’ve finished with the waterworks, set your brushes out flat to dry and make sure they’ve dried entirely before their next use to prevent any mould or fungi.
How to know it’s time to replace your brushes
Brushes can last a long while if they’re taken care of properly, but if they’re starting to smell like mould or mildew, then it’s a sure sign you need to swap them out for a new set.
Basically, as long as your brushes smell fine, aren’t shedding and aren’t discoloured, then they could last a lifetime. But, if your brush starts to exhibit any of these signs or just can’t get as clean as it used to, then it’s time to say goodbye. A good trick to use if it’s accessible for you is to buy and replace a new brush every three months; that way, you have a backup or a replacement if needed.