
Lost a button? Here's how to fix it without sewing
What can be more annoying than losing a button in the wrong place at the wrong time? Don’t panic. These quick and easy fixes will save you and rescue your garment on the spot.
We've all been there before: you're headed into an important meeting when a button that's been threatening to loosen itself for days finally decides to pop. What can you do to save yourself from embarrassment, especially if it's in a highly visible spot?
Thankfully, there are a couple of quick fixes that can save the day - with or without a sewing kit.
The quickest no-sew solution
Find a twist tie and strip away the paper. You can snag one from a loaf of bread, which should be easy enough at a restaurant, hotel, or friend's house.
Position the button in the spot it just popped off from and poke one end of the wire through a threaded hole from the underside; guide it through the corresponding buttonhole, and bring it back down through the diagonally opposite hole.
Twist up the ends and poke them through one of the unused button holes.
If you can find the tape, cover up the loose ends with it to avoid being poked or snagging your clothes.
It may not be the most elegant of solutions, but, especially with a dark-coloured button, nobody will be able to tell.
Here is how to sew in a button quick
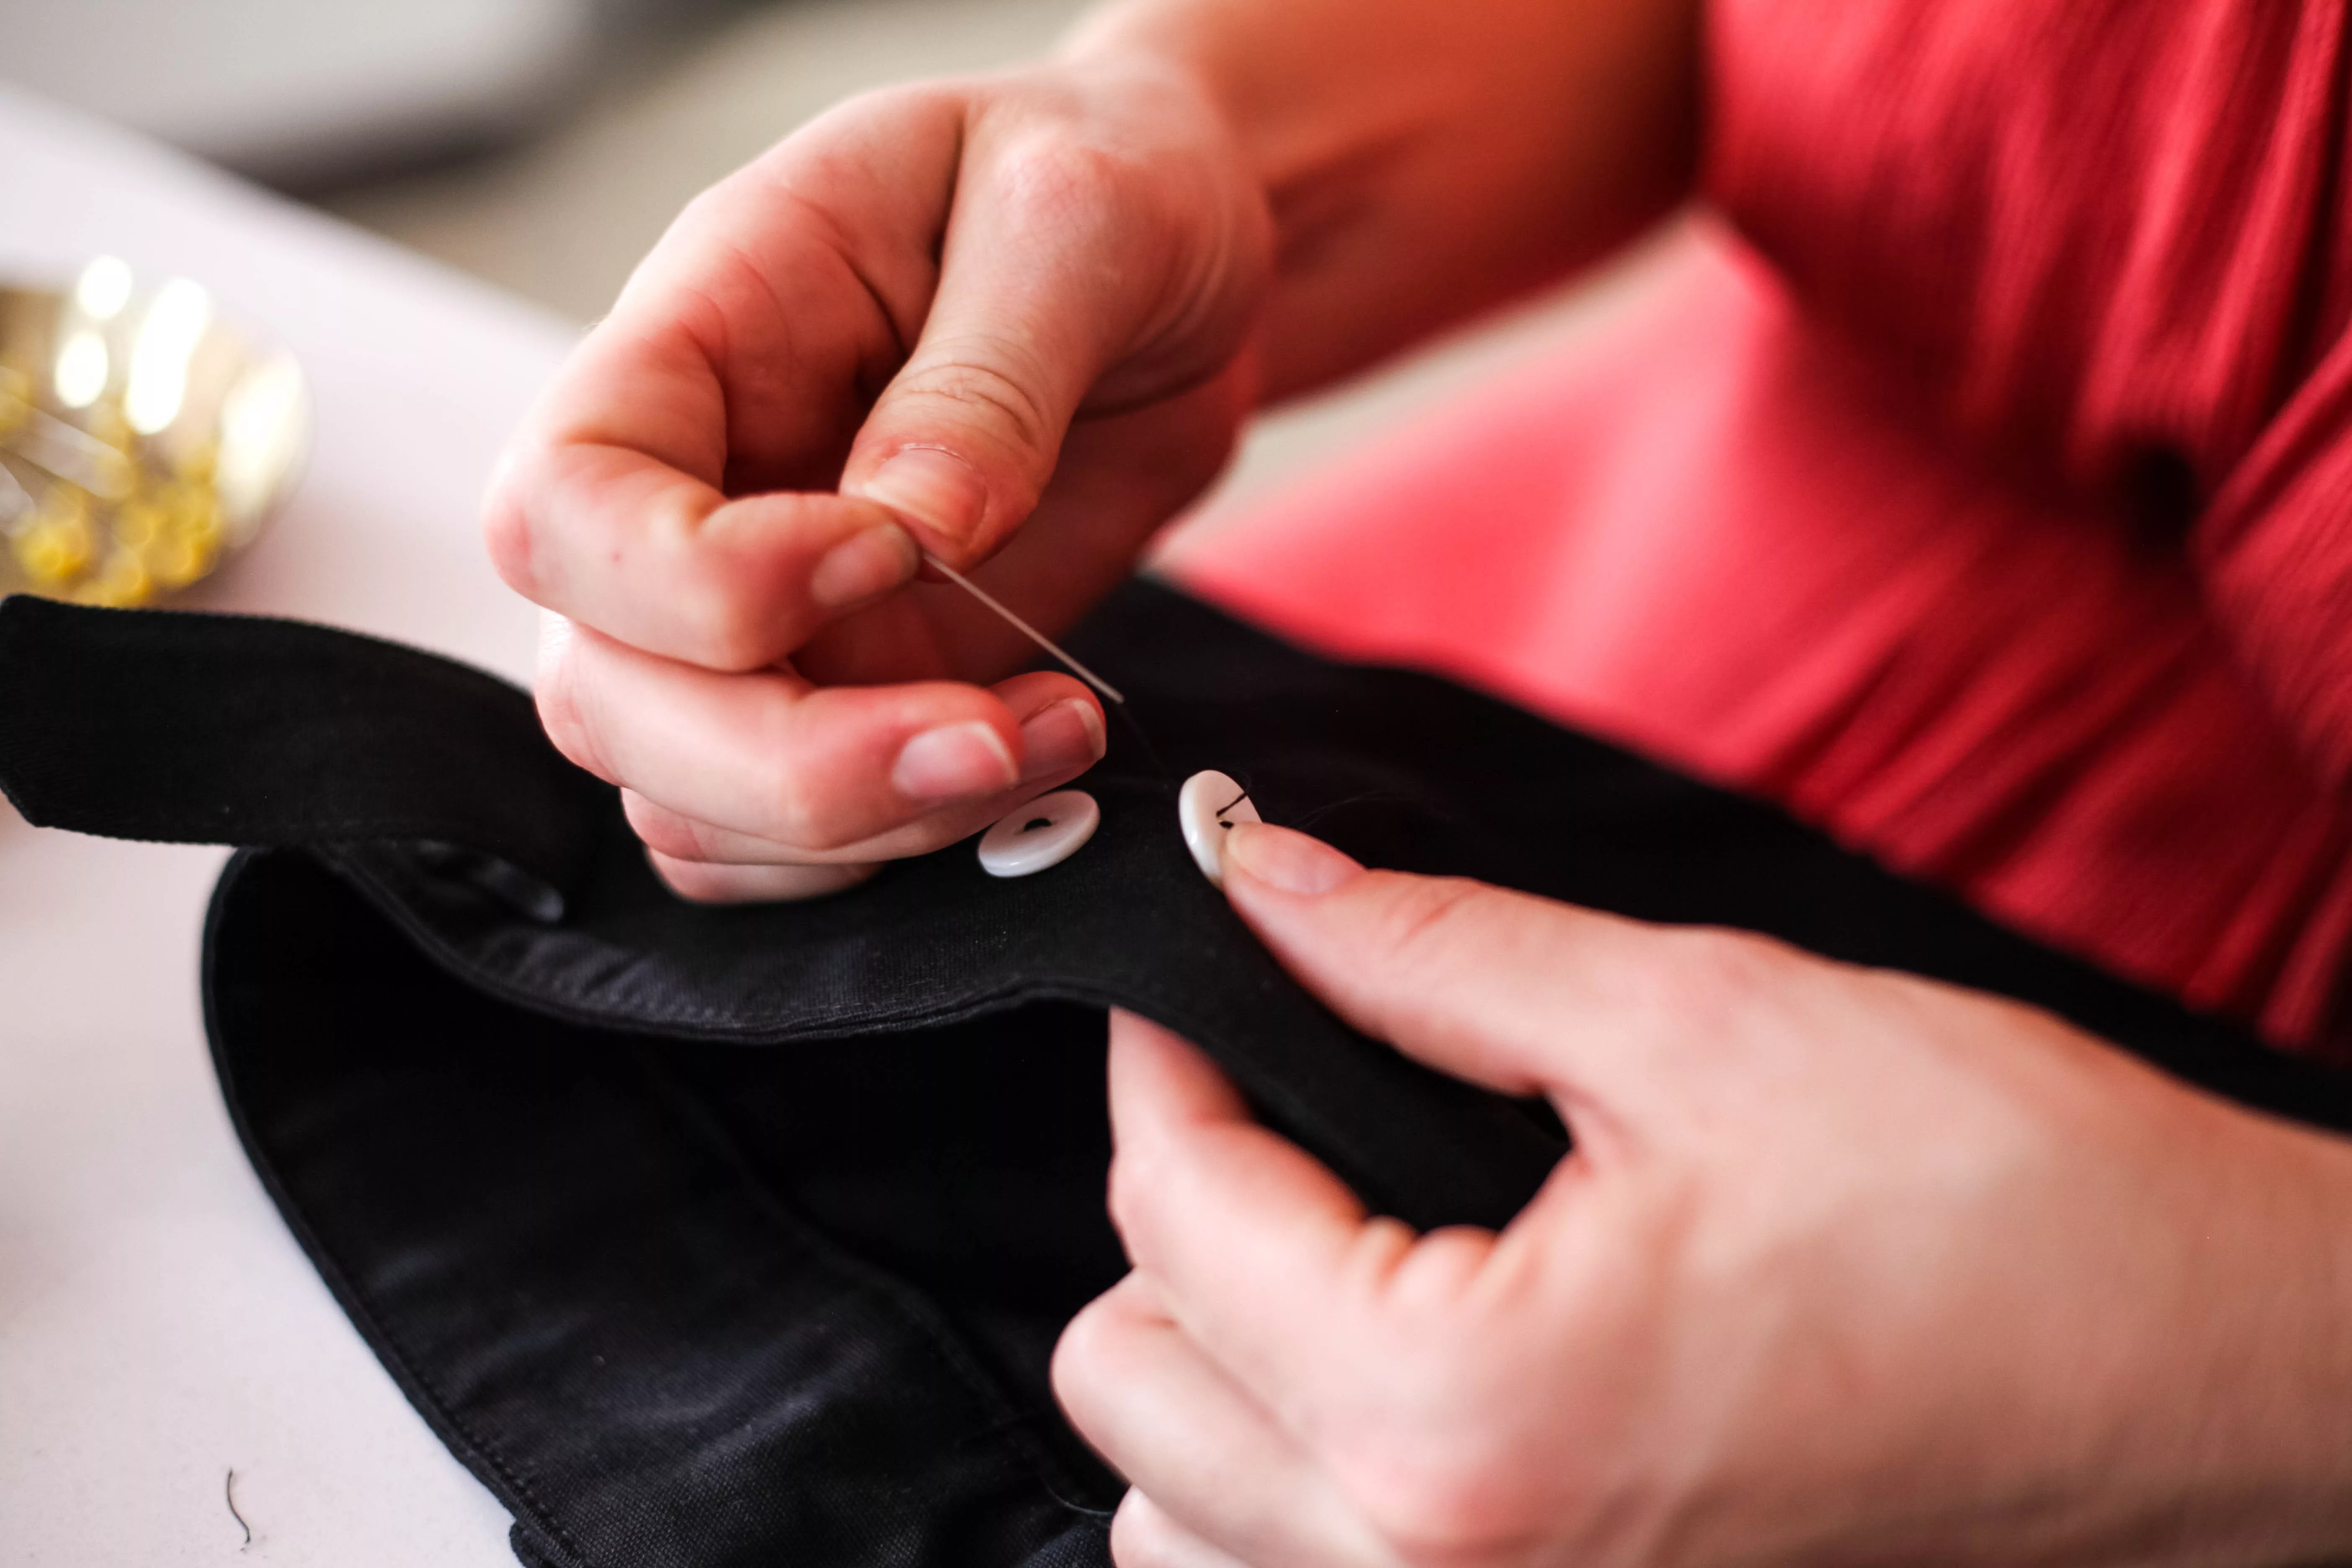
1. Get your sewing kit.
It doesn’t need to be anything fancy. Some thread in colours that match your wardrobe’s palette, a straight pin or two, a needle, and one of those tomato pin cushions you always wondered why your grandma had around.
2. Thread your needle.
Always go for more threads than you think you’ll need. It’ll save you from poking yourself in the finger, and you’ll just cut the excess off at the end. Push one end of the thread through the needle and then tie the thread ends together so that the needle is contained within the loop.
3. Place your button.
You want to start sewing from inside your garment so that the knot you just tied ends up hidden. Place the button on the surface of the fabric, and grab a straight pin (the long pin with a coloured ball on one end). Lay the straight pin on the face of the button. Sewing over the pin means the button won’t be on too tight. You need a little wiggle room to keep that thing functional.
4. Get sewing.
Push the threaded needle through the buttonhole, cross the pin, and sew downward through an adjacent buttonhole. Repeat about a dozen times. If you’re doing this neatly, you’ll end up with two parallel lines of thread on the outward-facing surface of the button, and an X of thread on the back. If your button only has two holes, you’ll just be making a repeated loop through them.
5. Tie up the loose ends.
Once your button is nice and sturdy, you’ll want to cut the remaining thread and tie at least a double knot on the hidden side of the fabric. Once the knot is in place, trim the wayward thread ends, pull the straight pin off of the button’s surface, and admire your expert work.
Sources used:
- Glamour: 'Lost A Button? Try This Brilliant Quick Fix!'
- The Manual: 'DIY Quick Fix: How to Sew a Button in 6 Easy Steps'